
How To Build Your Custom Teardrop Trailer in 8 Easy Steps
How To Build Your Custom Teardrop Trailer in 8 Easy Steps
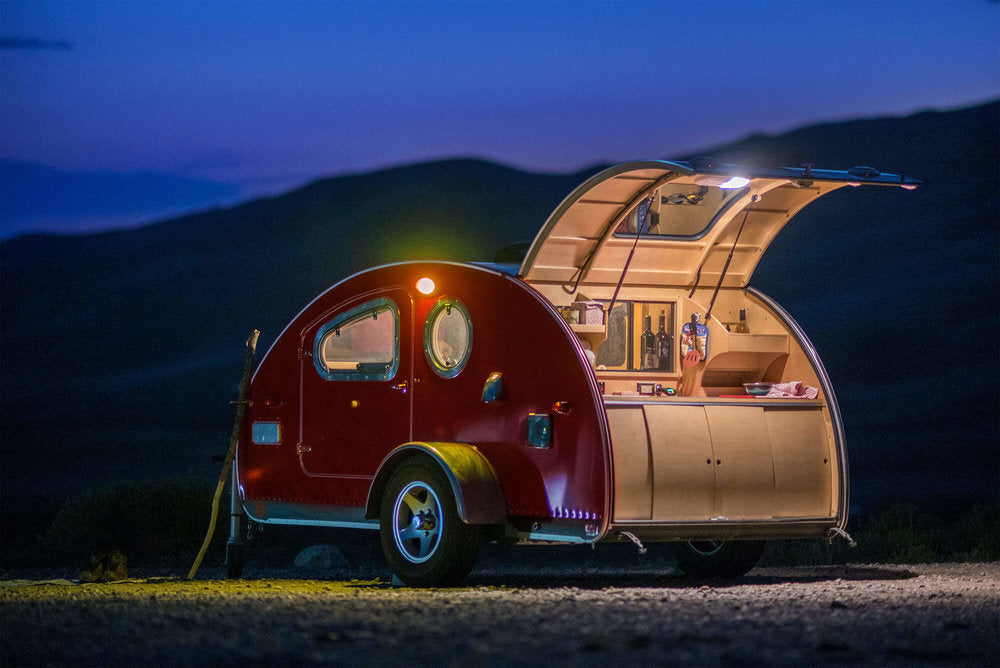
If you’re in love with camping you don’t need a huge travel trailer or a 5th wheel; you can make a DIY teardrop camper that will have everything you need. If you have some experience building things this will be a quick and easy task for you which you can finish in just a couple of steps and this guide will explain exactly how to do it.
Step 1: Building the foundation
To build a teardrop you have to start from somewhere and that would be the foundation. The foundation needs to be built on a trailer so you need to get a trailer that would be at least 4 x 8. There are a few options for the trailer such as assembling it from scratch or ordering a brand new one but those are quite expensive options and you want to save some money. So the best option, in this case, is to get an old used one so you don’t go over your budget. Make sure you inspect the wheel bearings and the entire frame for rust and functionality before buying the frame.
Step 2: The base of the teardrop trailer
The base of your DIY teardrop camper is quite important as well because you need to make sure it has the proper insulation. Get plywood that is 4 x 8 and it should fit perfectly. Line it up well with the foundation and use bolts to pin it to the trailer. Flip over your trailer and use undercoating to make sure you are protected from all elements. Turn it back around, get four 2x4’s and nail them on the base equally apart from each other making sure 2 are at the two ends of the base. Get your Styrofoam insulation and add it between the 2x4’s before placing another 4x8 plywood on top of that and screwing it in place.
Step 3: Assembling the walls
To begin putting together the walls you’ll have to prepare the base for installation. You’ll need to use the groove method in combination with glue and the tongue method. Once you’ve made the preparations for installing the side you’ll need to get another 4x8 plywood, cut it to fit your teardrop camper plans, and make sure you cut some holes for the wiring that you need to install later on and the door. This way you’ll also reduce the weight of your DIY teardrop. Get another 4x8 plywood for the outer wall and cut it exactly like the first one without the wiring holes. Remember to cut a hole for the door on the outer wall too.
Step 4: Setting up the roof
For the roof you will need a few 2x2’s on every 2 ft. to build the support for the wall. After you’re done with installing the support, you’ll need a 1/8 inch thick and 46 ½ inches wide STD hardboard which you’ll then slide into the trailer. Afterward, you need to enter the trailer and push the hardboard up to the rib support you previously installed. The hardboard has to be flush entirely, from the bottom to the top. Use wood screws to secure the roof in place on top and bottom. Use white caulking to seal the areas where the hardboard is in contact with the ribs and where it’s in contact with the floor.
Step 5: Wiring the teardrop
The first decision you have to make before you do anything connected to wiring is to pick AC power or DC power. Once you know this you will need a Marine Battery and a case to place it in. To start the wiring process you’ll have to begin with the battery. Get one side of the red power wire and connect it to the fuse panel while the other end gets connected to the battery on the positive side. Next, you need a 14 gauge black ground wire which you’ll connect to either the lights or the female 12-volt plugin. Make sure you have enough wiring to be able to cover the back galley because here you have the option to install an entire kitchen, cabinets for your clothes, or both combined. We leave this part up to you so you can decide for yourself what you need most.
Step 6: Rear door
To make the rear door to the galley you’ll need to get 4 ¾ inch plywood rounded pieces and line them up on the opening where the door is going to be. You will also need 6 2x4’s to place on the bottom, middle, and top on both sides between the rounded plywood pieces. Afterward, you’ll need to get 2 2x2’s and place them between the 2 middle pieces of rounded plywood. Make sure they are evenly spaced for better support and reinforcement. To make the door you can pick between 1/8 inch hardwood or hardboard. Once you complete the installation of the door you can connect the electrical equipment you are going to have in the back galley.
Step 7: Insulating your DIY teardrop camper
For insulation, you will need 4x8 sheets that are 1 ½ inch thick. Cut them up according to each area you are going to insulate and glue them on. You can also go a step further and use Blueskin to make sure it’s completely waterproof.
Step 8: Finishing touches
To add the finishing touches to your DIY teardrop camper you will need to cover it up with aluminum which you can later paint in any color you want. Cover the roof, and sides by cutting the aluminum according to the design of your trailer and secure it in place over the plywood. You will also need to install the door and the type of door you want to install is left up to your personal choice. You can get a door that is premade but it may set you back on your budget and your entire point of making your own teardrop is saving money. Try to find a door that will be affordable and within your budget. Finally, you’ll need to install a hinge and the best one for this is the hurricane hinge on the parts of your teardrop trailer that are opening to make sure you avoid water damage and leakage.
Building your own teardrop trailer isn’t so hard especially when you have a guide like this one at your disposal. We hope that this DIY teardrop camper guide helped you save some money and allowed you to customize your teardrop just the way you like it.
Tags: